
To document unknown finds for expert help, start by accurately recording their location with GPS or detailed sketches, noting surrounding features. Take clear photos from multiple angles with good lighting, capturing textures, markings, and size references. Measure the find precisely and note surface details like patina or inscriptions. Collect small samples carefully, label them, and store them properly. Finally, write a detailed description, organize all information systematically, and share it clearly—if you continue, you’ll discover more essential tips.
Key Takeaways
- Capture high-resolution, multi-angle photographs with good lighting, including scale references and environmental context.
- Record detailed measurements of size, shape, and material using calibrated tools.
- Document surface features, inscriptions, and unique markings in detailed descriptions and close-up images.
- Collect and label small samples carefully, storing them securely for future analysis.
- Organize all data systematically in written reports and share via accessible digital formats for expert review.
Assessing and Recording the Location of the Find
When you find an unknown object, accurately evaluating and recording its location is vital for later analysis. You should note the exact spot where you discovered the find, using precise measurements like GPS coordinates or detailed sketches. Pay attention to the visual context—surrounding features such as nearby landmarks, vegetation, or terrain—since these details help recreate the environment later. Clear documentation guarantees that others can understand the find’s original setting, which is essential for expert assessment. Make sure your records are consistent and detailed, avoiding vague descriptions. Accurate location data combined with the visual context provides a strong foundation for identification and further investigation, ensuring that valuable information isn’t lost or misinterpreted over time. Additionally, documenting the shelf life of items can offer clues about their age and relevance during assessment.
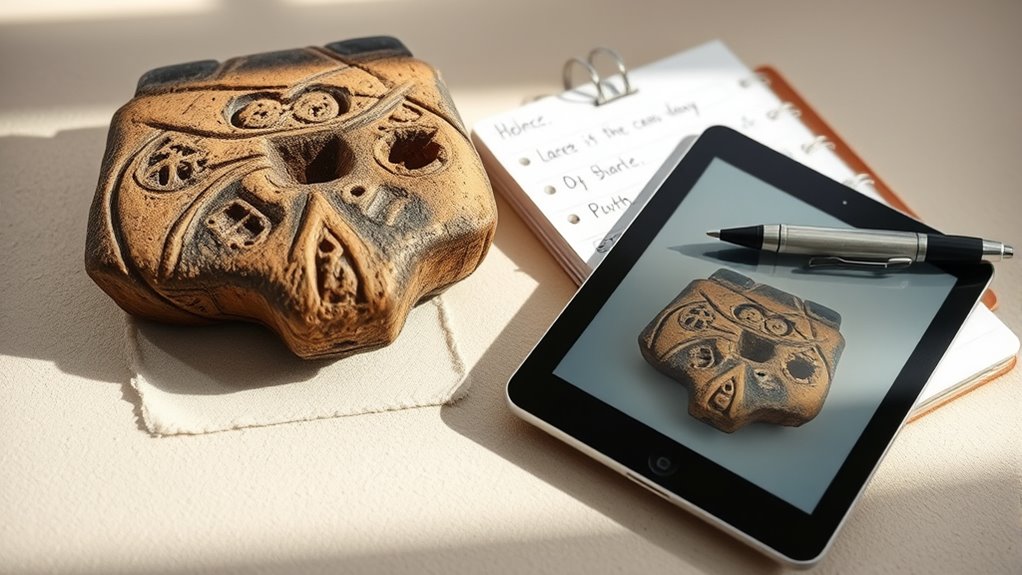
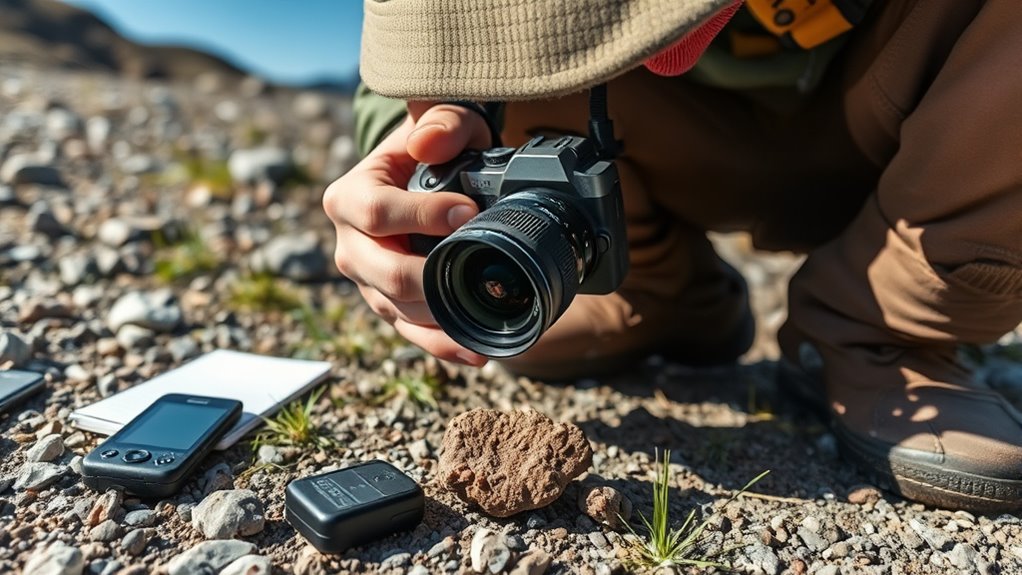
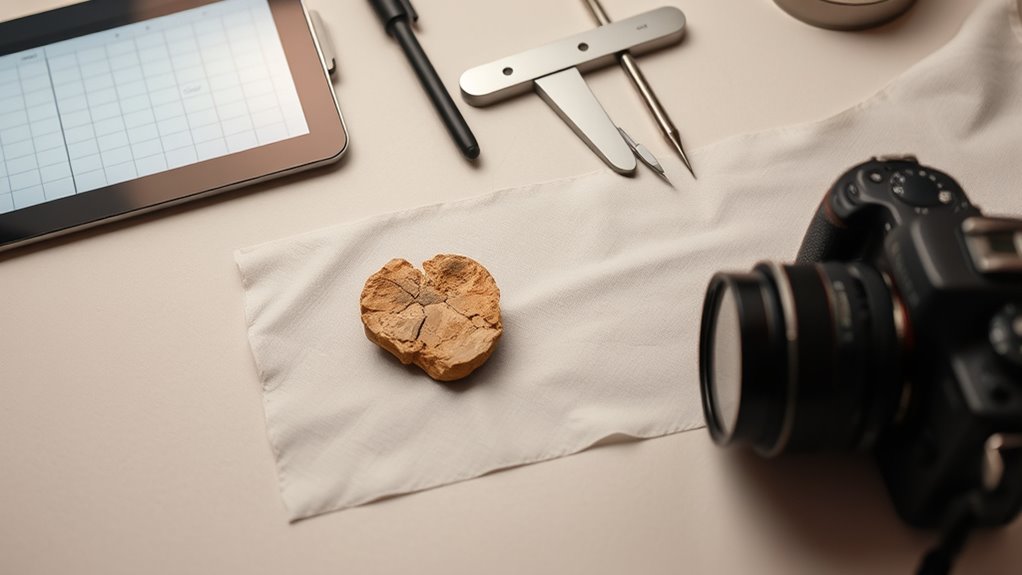
Taking Clear and Detailed Photographs From Multiple Angles
Make sure you use good lighting to clearly show the find’s features. Take photos from multiple angles to capture all details and avoid missing important aspects. Focus on sharp, close-up shots of key elements to help experts identify and analyze what you’ve discovered. Additionally, including context clues such as the environment or markings can provide valuable information for identification Halloween decorations.
Use Good Lighting
Good lighting is essential for capturing clear, detailed photographs of your unknown find. Proper lighting enhances the photo quality and reveals important features. Use natural light whenever possible, avoiding harsh shadows or glare. If indoors, position your object near a window or use diffused light sources to soften shadows. Avoid using your camera’s flash directly on the object, as it can create reflections or wash out details. Experiment with different lighting techniques to find the best setup, ensuring every angle is well-lit. Good lighting makes it easier for experts to examine your photos and identify your find accurately. Remember, clear and well-lit images are key to conveying the details needed for proper identification. Proper lighting also helps reveal headphone connectors and other small features that are crucial for accurate identification.
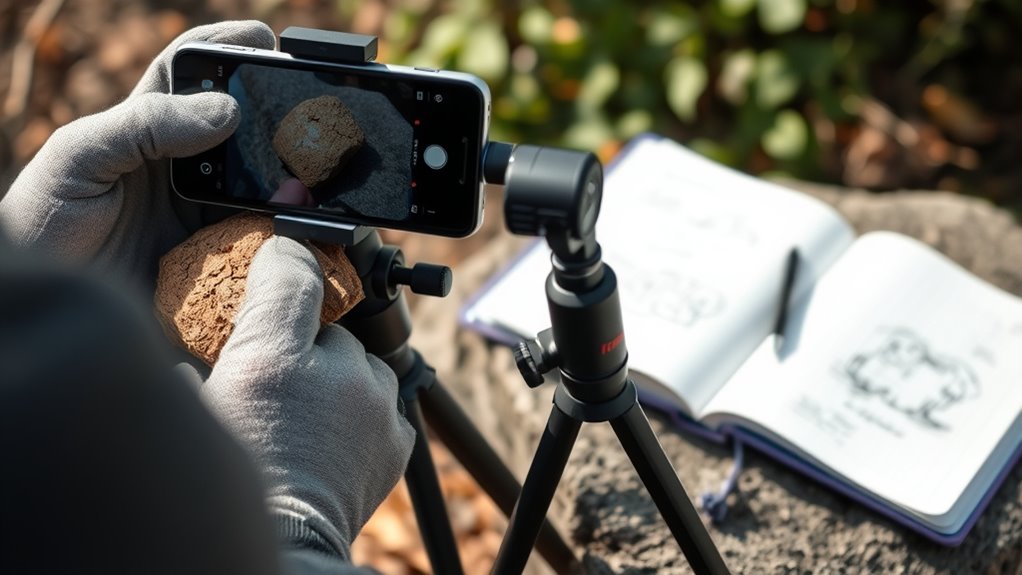
Capture Multiple Views
Capturing multiple views of your find guarantees you document all its details and features from every angle. Take photos from various perspectives—top, sides, bottom, and close-ups—to make sure nothing is overlooked. This approach enhances clarity by providing an extensive visual record that captures the object’s true form. It also improves accuracy, giving experts a thorough understanding of the find’s shape, size, and unique characteristics. Use a steady hand or a tripod to avoid blurry images, and make certain of good lighting to highlight details. Don’t rely on a single shot; instead, photograph the find from multiple angles to create a complete visual profile. This detailed documentation helps experts assess your find more effectively and reduces the need for follow-up clarifications. Comprehensive visual record ensures all details are captured for accurate assessment.
Focus on Details
Focusing on details means taking sharp, well-lit photographs that clearly reveal the intricacies of your find from multiple angles. To help experts understand its size and condition, include a scale reference in each shot. Capture close-ups of unique features, textures, and markings, ensuring every detail is visible. Use proper preservation techniques before photographing if necessary, like cleaning or stabilizing fragile parts. These detailed images allow experts to assess your find accurately without handling it physically. Remember to photograph from different perspectives—top, bottom, sides—to give a comprehensive view. Clear, detailed photos speed up identification and analysis, making your documentation more effective and valuable. Additionally, understanding remote work principles like proper organization and focus can help you manage your documentation process efficiently.
Documenting Physical Characteristics and Dimensions
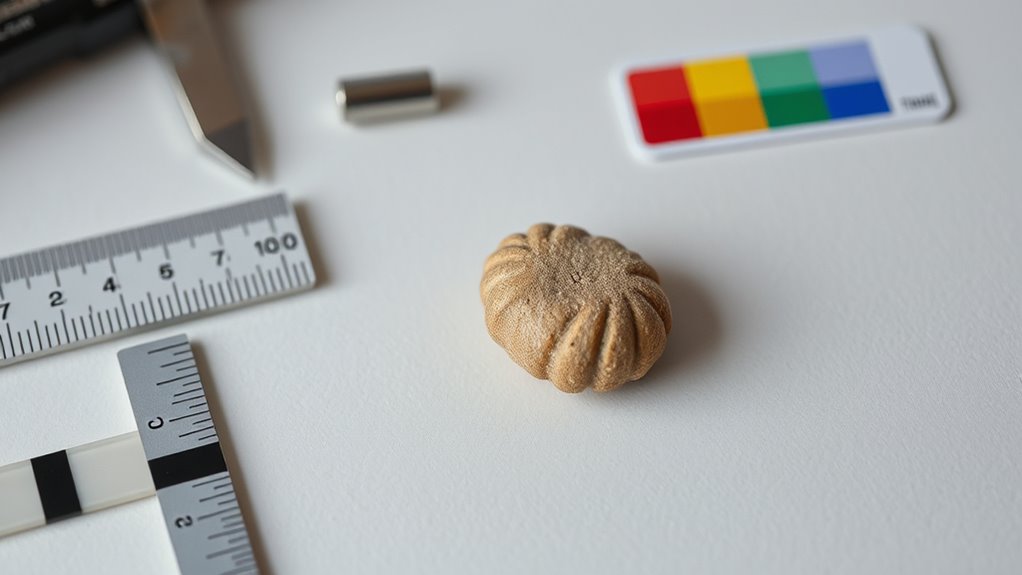
Documenting your find, make sure to take precise measurements of its size and shape. Note the material and texture to help identify what it’s made of, and record the color and any patterns. These details can be vital for experts to analyze and understand your discovery. Additionally, consider assessing its color accuracy, as subtle color variations can provide important clues about the item’s origin or purpose.
Take Precise Measurements
To guarantee accurate documentation of an unknown find, you need to take precise measurements of its physical characteristics and dimensions. Proper measurement accuracy depends on using well-calibrated instruments and ensuring they are properly calibrated before recording data. This helps avoid errors that could hinder expert analysis. Additionally, understanding the Pimple Patch ingredients and technology can assist in identifying similar materials or products. When measuring, consider:
- Using calipers or rulers for small or detailed features
- Recording the exact dimensions in millimeters or centimeters
- Noting any irregularities or asymmetries in shape
Always double-check your measurements and verify instrument calibration to maintain accuracy. Precise measurements provide clear, reliable data, making it easier for experts to interpret your find. Accurate documentation ensures your report is extensive and increases the chances of expert identification or classification.
Note Material and Texture
After taking precise measurements, documenting the material and texture of your find reveals important details about its origin and composition. Conduct a texture analysis by feeling the surface, noting whether it’s smooth, rough, porous, or fibrous. Observe how the material responds to light—does it have a matte or glossy finish? Use your observations to assist with material identification, which can help narrow down possible sources. Record whether the object feels brittle, flexible, or dense, as these traits provide clues about its makeup. Be detailed in describing surface features such as grain, pattern, or any unique characteristics. Additionally, understanding air purifier technology can provide insights into the material’s potential applications or history. Accurate documentation of these physical characteristics guarantees experts can better analyze the find’s material, aiding in identification and understanding its provenance.
Record Color and Pattern
Recording the color and pattern of your find is essential for accurate identification. Precise color analysis and pattern recognition help experts distinguish your find from similar items. To document these details effectively, observe the primary colors, noting any variations or fading. Record the pattern’s design, whether striped, spotted, or irregular. Use a camera to capture images under natural light for true color representation. When describing, mention the intensity, shade, and any unique features. Consider including measurements of the pattern’s size and repetition to aid recognition. Additionally, understanding essential oils for specific health concerns can provide context for identifying natural or organic materials.
Noting the Material Composition and Surface Details

When documenting unknown artifacts, paying close attention to material composition and surface details is essential. Start with material analysis to identify what the object is made of—metal, ceramic, stone, or organic material. Use descriptive terms to note surface examination details, such as texture, patina, corrosion, or tool marks. Observe whether the surface is smooth, rough, glazed, or weathered, and record any inscriptions, etchings, or damage. These details can provide clues about the artifact’s age, origin, and usage. Understanding individual responses to stress and change can also inform how the artifact might have been used or valued. Clear, detailed notes on material and surface characteristics help experts quickly assess the find’s significance. Accurate documentation of these features guarantees that the artifact’s physical qualities are preserved for analysis, comparison, and interpretation.
Recording Contextual Information and Surroundings

Understanding the context and surroundings of an artifact is essential for accurate interpretation. Recording details about its environment helps experts determine its age, use, and significance. Pay attention to the location where you found the item, including nearby features or structures. Note the environmental conditions, such as soil type, moisture levels, or evidence of recent disturbances. Consider the historical context by observing surrounding artifacts or landscape features that might provide clues about its origin. Documenting these aspects creates a thorough picture, aiding experts in making informed assessments.
- Note the site conditions, including soil type and moisture levels
- Record nearby features, structures, or artifacts that relate to the find
- Observe signs of recent activity or disturbance around the area
Assigning a Unique Identifier or Catalog Number

After documenting the environment and surrounding features of your find, the next step is to assign it a unique identifier or catalog number. This is essential for effective inventory management and helps prevent confusion later. Use a consistent system, such as a combination of numbers and letters, to create a memorable, organized code. Many cataloging systems include date codes, location abbreviations, or sequential numbering to ensure each item is distinct. Record this identifier clearly in your documentation and on any labels or containers. This process makes tracking, referencing, and sharing information easier for yourself and experts. By establishing a clear cataloging system now, you’ll streamline future updates, help maintain organized records, and facilitate expert analysis of your discovery.
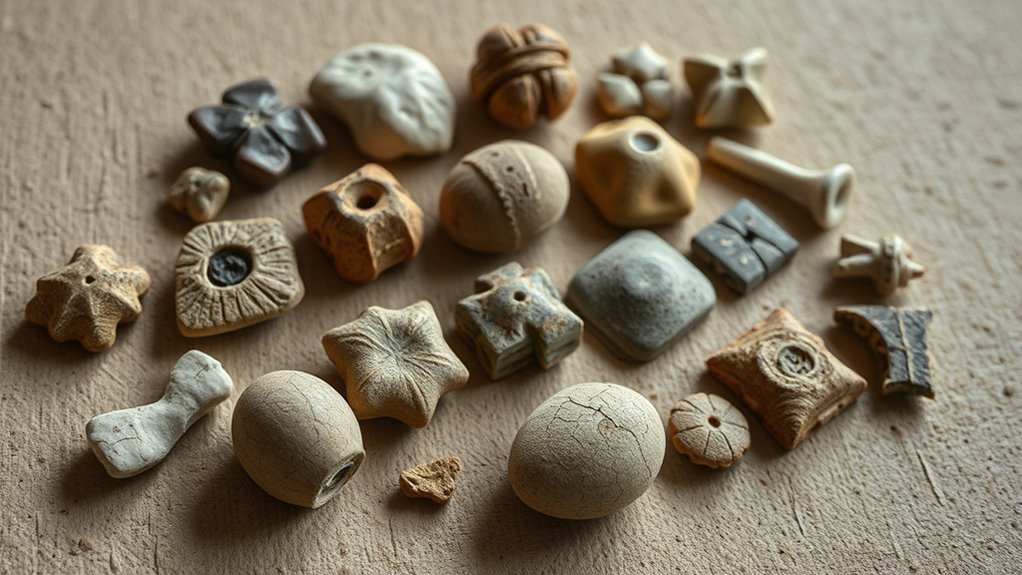
Gathering and Preserving Small Samples or Fragments
Begin by carefully collecting small samples or fragments from your find, ensuring you handle them with clean tools to prevent contamination. Proper specimen preservation is vital to maintain the integrity of your samples. Use airtight containers or small vials to store fragile fragments securely. Label each sample immediately with clear, detailed information to avoid confusion later. This step helps track the origin and context of each piece. To enhance your collection process, consider these tips:
Handle samples with care, label accurately, and store securely to preserve their integrity.
- Use dedicated, clean tools for each sample to prevent cross-contamination
- Include date, location, and any relevant details on sample labels
- Store samples in a cool, dry place to prevent deterioration
Following these steps ensures your samples are well-preserved and accurately documented for expert analysis.
Creating a Comprehensive Written Description

To guarantee experts can accurately assess your find, creating a complete written description is essential. Your account should include details like size, material, condition, and unique features. Incorporate the historical context to help experts understand its significance and provenance. Also, note any conservation considerations, such as fragile areas or previous damage. Use the table below to organize this information clearly:
| Aspect | Details |
|---|---|
| Size | Exact measurements in centimeters or inches |
| Material | Type of material, e.g., ceramic, metal |
| Condition | Intact, damaged, restored |
| Unique Features | Markings, inscriptions, patterns |
| Historical Context | Era, cultural background, usage |
A thorough description guides experts, ensuring accurate identification and preservation.
Choosing the Appropriate Method to Share Your Documentation
Choosing the right method to share your documentation guarantees experts receive all necessary information efficiently. Digital sharing options allow for quick, organized, and accessible communication, making expert consultation smoother. Consider the nature of your find and the detail required when selecting a method. For example, high-resolution images or videos can be shared via email or cloud services for clarity. Alternatively, detailed PDFs or annotated diagrams work well for exhaustive descriptions. You might also use specialized platforms or collaboration tools designed for secure, efficient sharing. Remember, the goal is to ensure your documentation is easily understood and accessible, so choose a method that matches the complexity of your find and the preferences of the expert you’re consulting.
Frequently Asked Questions
How Can I Determine if My Find Is Culturally Significant?
You can start by researching the artifact’s context, material, and design, which helps determine its cultural significance. Consult local history resources or talk to community elders for insights into its origin. Proper artifact preservation is key, so handle it carefully and store it in a stable environment. Document any markings or unique features that might connect it to a specific culture, aiding experts in evaluating its importance.
What Safety Precautions Should I Take During Documentation?
Did you know that proper handling of archaeological finds can reduce damage by 80%? During documentation, you should always wear safety gear like gloves and goggles to protect yourself. Use proper handling techniques to avoid damaging the find or risking injury. Keep your workspace organized, and handle artifacts gently. Remember, safety isn’t just about personal protection — it’s vital to preserving the integrity of the find for expert analysis.
How Do I Handle Delicate or Fragile Artifacts?
When handling delicate or fragile artifacts, you should prioritize artifact preservation by using gentle handling techniques and appropriate support. Employ careful photography techniques to capture detailed images without causing damage, ensuring good lighting and stability. Use gloves to prevent oils from your skin transferring onto the artifact. Document every detail meticulously, including condition and any existing damage, so experts can assess and advise on proper preservation and further analysis.
Who Should I Contact for Expert Evaluation and Verification?
When you find something unfamiliar, you should contact a museum consultation or archaeological agencies for expert evaluation and verification. These organizations have the knowledge and resources to assess your find properly. Reach out to local museums, university archaeology departments, or official archaeological agencies. They can guide you through the process, guarantee the artifact is preserved correctly, and help document your discovery accurately for future research.
How Can I Protect My Find From Deterioration After Discovery?
Imagine uncovering a fragile artifact, and you worry about its deterioration. To protect it, you should use preservation techniques like proper cleaning and controlled environments. Store it in stable storage solutions, such as acid-free containers or padded boxes. Keep the find away from direct sunlight, moisture, and extreme temperatures. These steps help guarantee your discovery remains intact until expert help can properly assess and preserve it.
Conclusion
Don’t let uncertainty hold you back from uncovering something remarkable. Your detailed documentation could lead to expert discovery and new insights. Remember, every find has the potential to tell a story, even if it seems insignificant now. By carefully recording and sharing your findings, you’re contributing to a greater understanding. Trust your efforts—what you’ve uncovered might just inspire a breakthrough or spark curiosity in others. Keep exploring, keep documenting, and let your passion lead the way.