To get accurate IDs in the field, focus on capturing your subject from multiple effective angles, such as eye level, above, and side views. These perspectives reveal key features like markings, textures, and structure often hidden from standard shots. Lighting should be natural, ideally during golden hours, to show true colors and details. Adjust your camera settings for sharpness and clarity, and be mindful of your composition. Continue exploring these techniques to enhance your identification skills even further.
Key Takeaways
- Capture images from multiple angles, including low, high, and side views, to reveal all identifying features.
- Position yourself at eye level with the subject to document key markings and textures clearly.
- Use overhead shots to showcase patterns, markings, or textures hidden from ground level.
- Adjust camera angles to highlight subtle features like markings, textures, or structural details.
- Avoid only frontal shots; diverse perspectives increase the accuracy of identification.
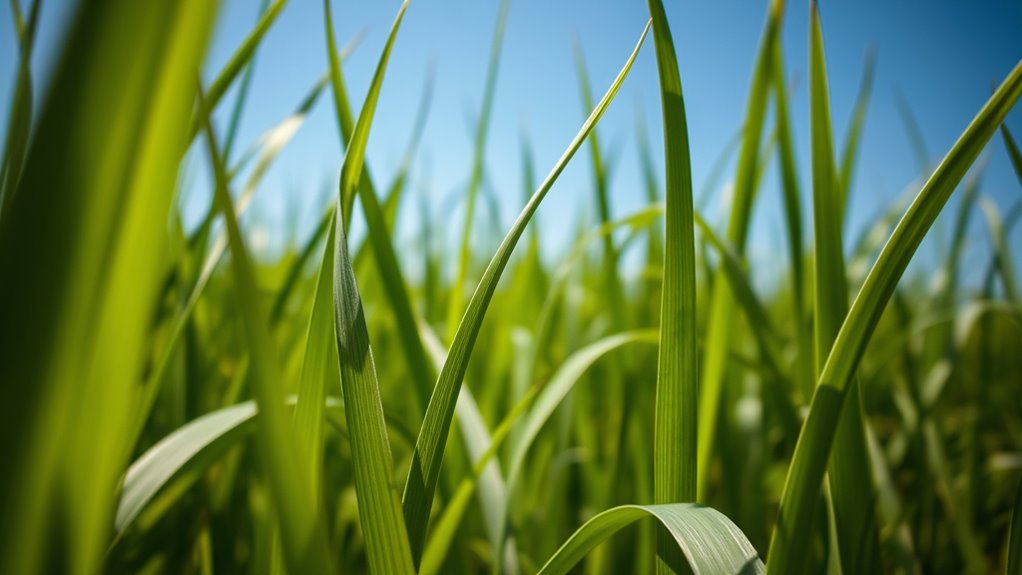
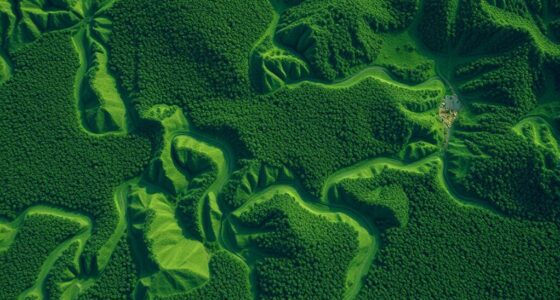
Have you ever struggled to identify a plant or animal in the field? It’s frustrating when your photos don’t capture the details you need, leaving you guessing or relying on incomplete information. To truly access nature’s secrets, you need to master the angles that matter. Properly capturing different perspectives can make all the difference in accurate identification. First, pay attention to lighting considerations. Natural light varies throughout the day, affecting how colors and textures appear in your photos. Shooting during the golden hours—early morning or late afternoon—provides soft, warm light that reveals fine details without harsh shadows. Midday sunlight, while bright, can wash out colors and create unflattering shadows that obscure important features. Position yourself to utilize diffused light or shaded areas when possible; this minimizes glare and guarantees your subject’s true colors and structures are visible. Alongside lighting, camera settings are essential. Adjust your aperture to control depth of field—using a smaller f-number (like f/4 or f/5.6) isolates your subject by blurring the background, making key features stand out. A higher ISO can help in low-light conditions, but be cautious—too high, and you risk grainy images that obscure fine details. Shutter speed also plays a crucial role; faster speeds freeze motion, essential when photographing swift-moving animals or fluttering insects, while slower speeds can capture movement but risk blur. Experiment with these settings to find what best suits the scene, assuring your photos are sharp and detailed. When it comes to angles, don’t settle for a single view. Get down low to eye level with your subject; this perspective often reveals the most identifying features, especially for plants and small creatures. Also, try shooting from above or at different sides to capture textures and markings that might be hidden from your usual vantage point. Changing your angle can uncover indispensable details that assist in correct identification. Remember, the goal isn’t just to take a pretty picture—it’s to gather the clearest, most informative image possible. By thoughtfully considering lighting and camera settings, and by intentionally choosing angles that highlight key features, you set yourself free from uncertainty. Your photos become powerful tools, opening the door to confident identifications and deeper understanding of the natural world. With practice, these techniques will become second nature, and you’ll find yourself more liberated in the field—no longer limited by poor images or missed details, but empowered to see and document nature more clearly than ever before. Additionally, understanding how contrast ratio influences image clarity can help you choose equipment that enhances the distinction between different features, ensuring your photos are as accurate and detailed as possible.
Frequently Asked Questions
What Equipment Best Captures Essential Angles in Field Photography?
You should choose a versatile camera with good lens selection, like a macro or zoom lens, to capture essential angles. Use camera accessories such as a sturdy tripod or a reflectors to improve stability and lighting. This setup gives you the freedom to shoot from different perspectives, ensuring you get all the vital details needed for accurate identification. Embrace your creative freedom and adapt your equipment to explore every angle confidently.
How Do Weather Conditions Affect Angle Choices for ID Photos?
Weather woes wildly influence your angle choices, demanding diligent adaptation. Rain, rainbows, or relentless sunlight can distort details or create shadows, so you must shift your stance to dodge glare or capture clarity. Wind whips and weather impacts require flexible framing, helping you harness the environment rather than be hindered by it. Embrace weather’s whimsy, adjusting angles actively to seize sharp, stunning shots that free your photography from weather’s wild whims.
Can Drone Photography Improve Angle Accuracy in Difficult Terrains?
Yes, drone photography can improve angle accuracy in difficult terrains. By offering an aerial perspective, you can easily navigate terrain complexity and capture images from angles that ground-based methods can’t reach. This flexibility allows you to get precise shots for ID, freeing you from the limitations of challenging environments. With drones, you gain the power to see and photograph from the best angles, enhancing identification accuracy effortlessly.
What Are Common Mistakes When Photographing From Incorrect Angles?
Like a crooked mirror, photographing from incorrect angles causes perspective errors and camera distortion, which can mislead your ID process. You might capture distorted features or misaligned structures, making identification tricky. Avoid this by taking photos from the right angles, ensuring the subject’s true shape and size are preserved. Don’t let poor perspective limit your discovery—embrace the freedom of accurate, well-angled shots to truly understand what you’re seeing.
How Does Lighting Influence the Effectiveness of Different Angles?
Lighting effects greatly influence how well your angles work in field photography. Proper lighting enhances details and reduces shadows that can obscure important features. By optimizing your angles to catch the light just right, you create clearer, more accurate images. Don’t be afraid to experiment with different positions; this freedom allows you to capture the true essence of your subject, empowering you to take confident, effective shots every time.
Conclusion
Remember, capturing the right angles in field photography isn’t just about aesthetics—it’s vital for accurate identification. Studies show that images taken from ideal angles improve ID accuracy by up to 30%. So, next time you’re in the field, focus on your positioning and perspective. Mastering these angles can make all the difference in your data’s reliability, helping you identify species more confidently and contribute valuable insights to conservation efforts.